Digital cameras are replacing analog cameras because they provide higher quality. Such devices are more functional and easier to use. Wi-Fi connection of a video surveillance camera allows you to do without wires and transfer data to any medium.
How Wi-Fi CCTV Cameras Work
The main difference between the device is the ability to work with the WPS protocol. The camera captures the video signal and transmits it to the router or to the computer, if the latter is equipped with a Wi-Fi module. The transmission is wireless. The recording is stored on a medium or transferred to the cloud.
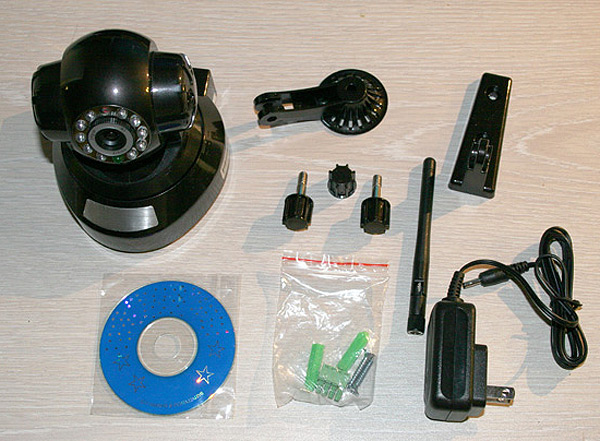
This model is equipped with many useful options. They usually support PTZ technology. The lens can be rotated along the vertical and horizontal axes remotely. Management via the web interface or a dedicated application.
Another innovation is the feedback system. Models are equipped with external speakers and transmit sound in the opposite direction.
Camera types
There are many varieties of wireless products. They are classified according to the method of installation, purpose, options.
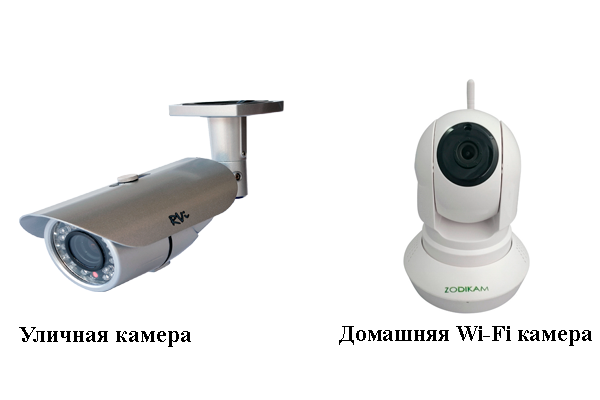
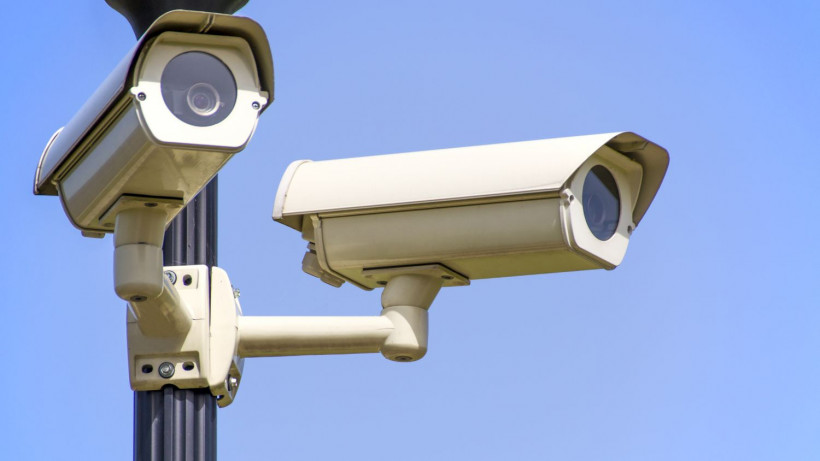
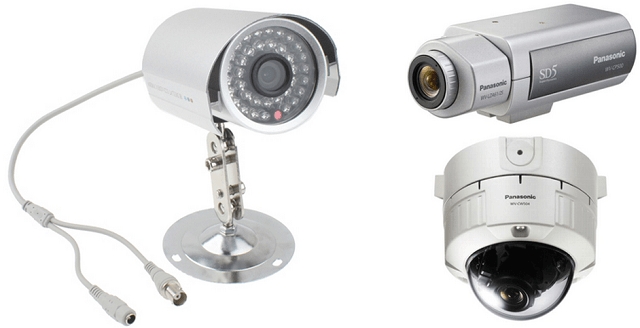
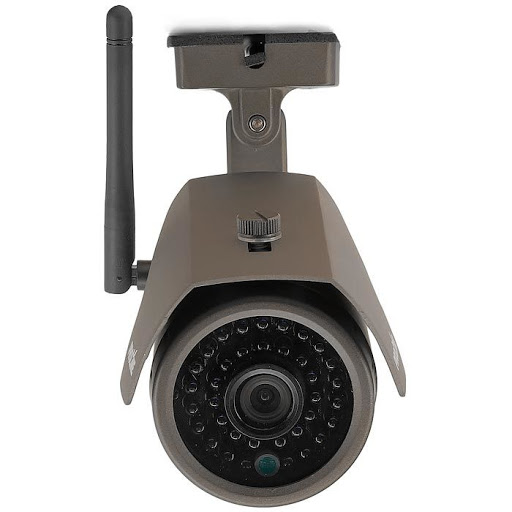
- Outdoor - designed for outdoor video surveillance. The wi-fi camera is connected in the usual way, but the camera itself is noticeably different. Its body is made of more durable materials, the device is massive and heavy. The degree of protection against moisture and dust is high. For work in very difficult weather conditions, special models are produced that are resistant to extreme cold or heat.
- Internal - installed only inside the building, since their level of protection against dirt and moisture is low. The camera is lighter, can be mounted on any surface, including plasterboard partition, furniture. The cost is lower. The functionality of indoor models is not inferior to products for outdoor use.
In terms of functionality, cameras are divided into the following categories:
- dual-band - can transmit a signal at 2 or 4 GHz;
- parabolic - provide a stable signal;
- omnidirectional;
- directional - the signal is transmitted over a narrow channel;
- sector - allow you to divide the viewing space into sectors and monitor objects only in a certain area.
Models can be equipped with a motion sensor, external microphone, memory card, speakers.
How to connect a Wi-Fi camera
The connection method depends on the installation site and the control device. Any of the models can be connected using cables, if this option is more convenient.
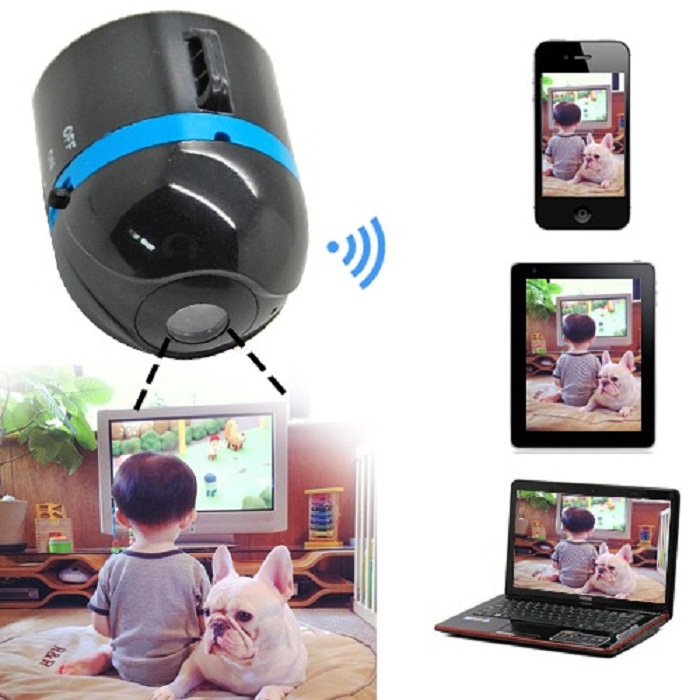
Installing a Wi-Fi device provides 2 main advantages: the ability to monitor what is happening online and control it remotely.
Through the wire
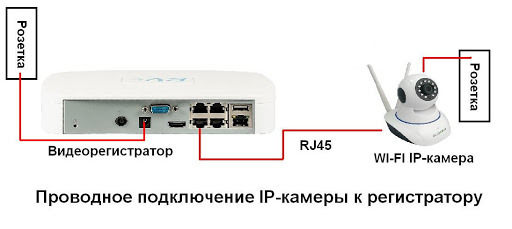
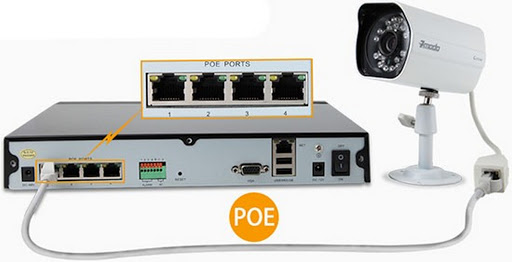
- The camera and the DVR are connected with a cable through the Rj45 connector. Only a specific wire is used.
- Open the interface through a browser and find the Wi-Fi section.
- Link the camcorder and router. When setting up, they select the encryption protocol - usually WPA2 and put a tick in the automatic connection box.
After setup, you can control the device from a tablet or phone.
Via Wi-Fi
It takes even less time to connect a Wi-Fi camera.
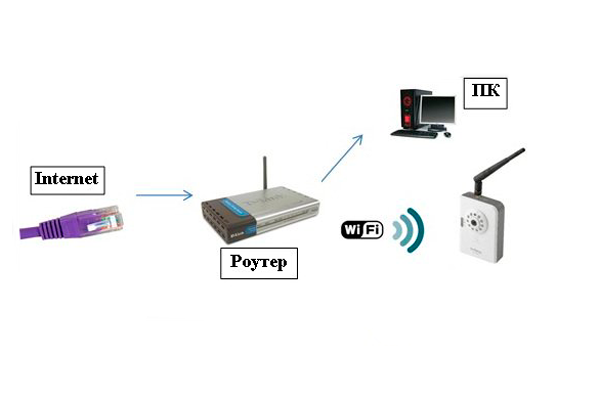
- The computer and the device are communicating. In the settings, check the box for wireless communication and set a password.
- It is necessary to synchronize the work of the devices.To do this, go to the web interface of the DVR in the browser and indicate the necessary signal transmission parameters.
- Using the channel, they enter the device.
This option is most common.
Via router
Only some models can be connected in this way. Here, a computer or tablet as a recording device is connected to a router via a patch cord. Camcorders are also connected to the router. The communication channel is configured in the interface.
Via phone
To connect a simple wi-fi camera via a phone, you need to study the instructions. The connection is exotic, but it works. The recording is saved on a flash card, and the application is installed on the phone or tablet.
- The cable from the ISP connects directly to the tracker.
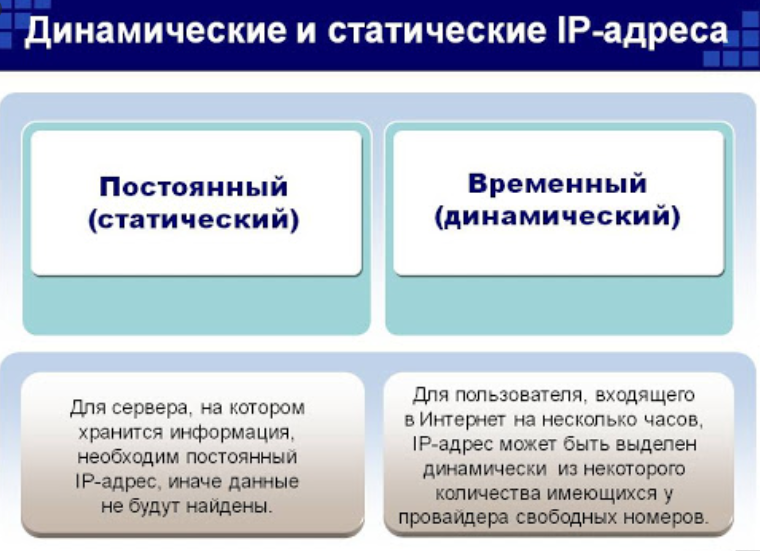
- Get a static IP address. Otherwise, the settings will have to be updated every day.
- The connection is set up through the browser on the smartphone. Specify the IP address of the gadget in the line.
When connected properly, a camera image appears on the phone.
Seat selection
The Wi-Fi signal spreads freely within a radius of 500 m. However, even an ordinary partition reduces the quality. The capital wall is turning into a serious problem. Also, operation is affected by any devices that emit strong electromagnetic radiation:
- fluorescent lamps;
- any industrial equipment;
- Microwave ovens;
- transformers and electric motors.
To solve the problem, several access points are installed.
Wi-Fi camera setup
- By clicking on the connection icon in the connection center, check if the subnets of the tracker and the computer match. In the "Properties" click on "Details" and compare the indicators - the first 3 digits must match.
- If the numbers are different, you need to specify the PC subnet. To do this, in the "Internet Protocol" column, click on "Properties". Then on "Additional" and "Add", and in the line that opens indicate the desired subnet. Then click "Subnet mask" to fill it in automatically. Everywhere click "OK" and repeat the operation by comparison.
- The Wi-Fi camera is connected to the network, connected to a router or computer with a cable, and the address of the device is indicated in the browser that opens. Usually, a username and password are required, after logging in, it is recommended to change them.
- In the settings of the gadget, they enter the indicators of their Wi-Fi network, and then disconnect the cable. In the future, it is not needed, the camera communicates with the router via the network.
After synchronization in any device that picks up the signal, a web panel appears from which you can view the image. However, if there are several devices, you will have to additionally mark the "Dynamic IP" column in the admin panel. The same is repeated with other cameras. The operation is carried out with the cable still connected.
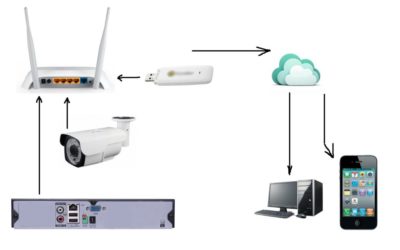
If the owner wants to control the situation from anywhere, the setting is expanded.
- In "Administration" instead of a dynamic IP, mark the fixed one and enter the address of the router. For video devices, choose their own IP address: the last 2 digits should not match those of the router. The standard mask is "255.255.255.0". If there are several cameras, for each one indicate its own address in order.
- Instead of HTTP Port, specify the HTTP Port Number, if possible. Then they enter a number like 8181 and for each new camera they indicate the following - 8182, 8183. If this is not done, the default port is 80.
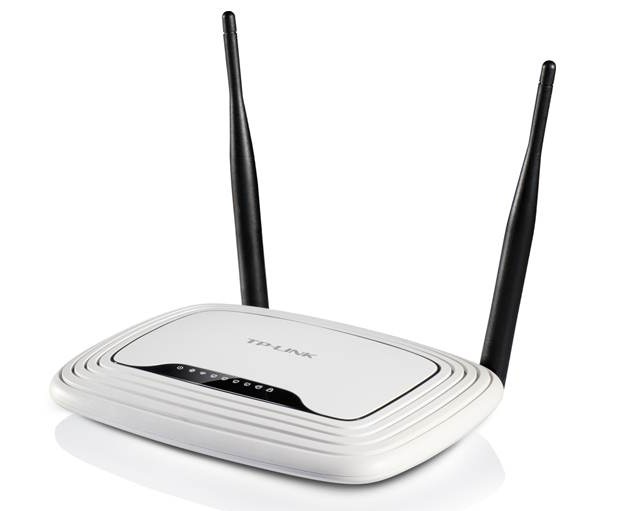
The last step is to configure the router.
- The password and login of the router are indicated in the control panel of the device. They are indicated on the bottom of the case.
- In the menu, they find a section responsible for connecting to ports - in different models it is located in different places. Here, traditionally, all connected cameras are indicated: port, address, selected name.
- If the IP is dynamic, you need to go to the network and get a static one. If you already have one, they immediately go to the service website and register the computer.Be sure to indicate the redirection of port 80 and write your record data in the settings.
Now you can turn to the camera and see the image from any device and from anywhere in the world.
Configuration programs
To control video surveillance from a phone or tablet, you need software. There are several options:
- the application can be included on the disk bundled with the camera;
- the program can be downloaded from the manufacturer's website;
- you can install universal applications: Xeoma, iSpy, WebcamXP.
Programs differ in the number of settings and volume.
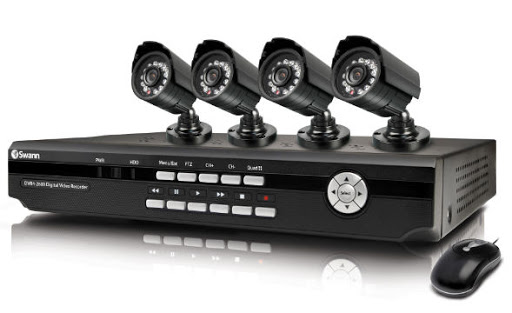
Popular models of wireless Wi-Fi CCTV cameras
Devices are selected for their intended purpose. Each category has its own favorites.
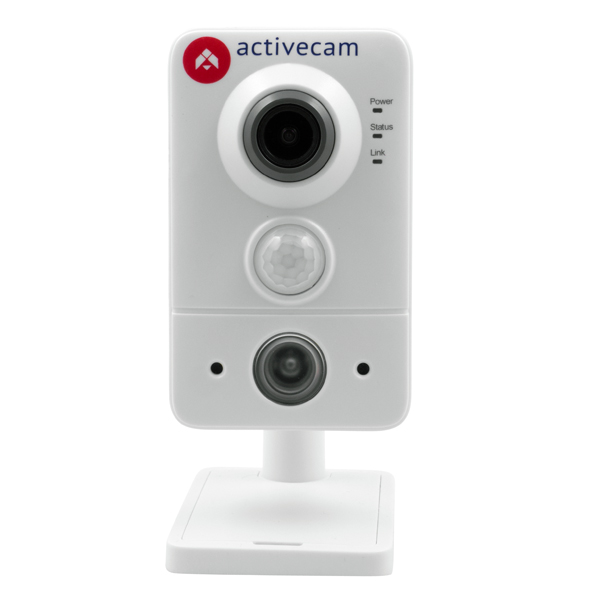
- Actіvecam AC-D7101IR1 is an excellent desktop model for home surveillance. Pros: good resolution, IR illumination, two-way audio communication. The record is transferred to the recorder and duplicated in its own memory.
- EZVIZ C2mini is a hidden mini-camera with a viewing angle of 115 degrees. Designed for indoor installation. Equipped with IR illumination. The device transmits data to the cloud.
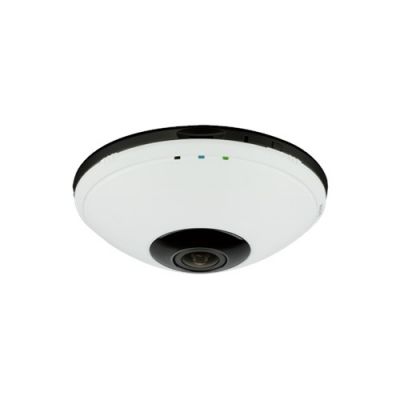
- D-Lіnk DCS-6010L - panoramic model, installed on the ceiling. Equipped with a motion sensor, it can zoom in on the image. There is a feedback.
- Proline IP-HW2033WKF is a device for outdoor use. Even in complete darkness, it “sees” up to 30 m. The case is protected from moisture and dust. Works with both a wireless signal and a wired connection. Recording is possible on your own memory card.

Wi-Fi cameras are a convenient solution. When organizing the system, multiple wires are not required. You can control video surveillance from anywhere in the world.